Prepare user record(s) to allow routing
Any staff members that will be added to a routing list must be configured to allow routing.
- Display the staff member's user record in Modify User Wizard.
- Make certain the Allow routing box is checked.

Create a routing list
- In Modify Control Wizard, click on the Routing tab.
- Click on the Create a Routing tool.

- Enter the staff member's user ID, or use the gadget to search for them by user name.
- Enter a rank for that user. The user with the lowest rank will be first on the routing list.
- Click Create Create Routing.

Repeat these steps to add all users to the routing list.
Modify a routing rank
- In Modify Control Wizard, click on the Routing tab.
- Click on the Modify a Routing tool.

- Change the routing rank.
- Click Modify Routing.
Delete a routing
- In Modify Control Wizard, click on the Routing tab.
- Click on the Delete Routing(s) tool.

- To remove all routings, check the Remove All Routings box, and click Delete Routings.
- To remove one or more routings, check the boxes next to the users to remove from the list. Click Delete Routings.
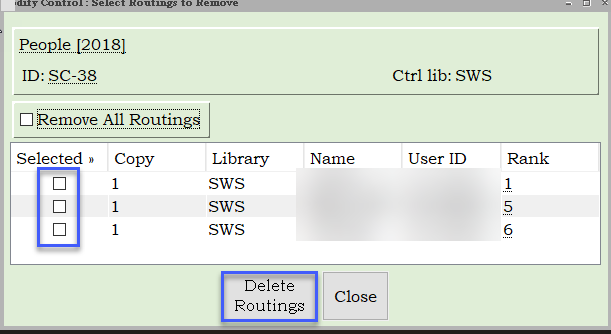
- A confirmation dialog box will display. Click OK.
To customize routing slips for your library, send in a ticket to SWAN.