1. Open the Onshelf Items wizard in the Holds wizard group.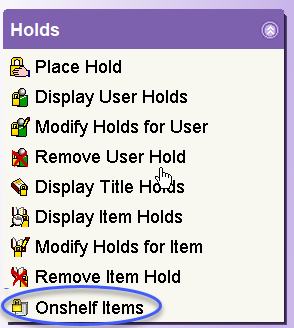
2. Print the Onshelf Items with Holds list and Close the wizard.
Prior to printing the Onshelf Items with Holds list from the Onshelf Items wizard, verify your font size (Preferences/Desktop/Font settings) is 12 or less. This allow the list to display legibly on 8 ½ x 11 paper.
3. Retrieve items from the stacks and check in items using the Discharge/Checkin wizard (recommended wizard). Click OK Item not charged prompt and route material according to information on the following screen. Fill out RAILS routing slip.
4. Once the check in is complete, re-open the Onshelf Items wizard. The items that remain on the list are items that were not acted upon or any new holds assigned to your pull list.
5. Go to the Charge/Checkout wizard in the Common Task wizard group and locate your Missing User (MISSINGxxx) and check out the items that were not on shelf to your generic user (required). A Holds Block Override box will display. Enter the Hold Block Override and click on Override and Checkout Item. Do this until ALL remaining items on your list are checked out to your generic Missing User.
Reminders
1. It is important that when the Onshelf items with Holds List is accessed, that the report is completed (items are checked in and trapped); otherwise, these items will appear on the next report that your staff generates.
2. It is required that staff checkout items that are not on your shelves to your generic Missing User (MISSINGxxx).