Other aspects of your notice templates will require Unique’s assistance, such as updating background colors, your library logo, and footer text. However, you can preview your desired changes to see a mockup of what your notices will look like before reaching out to Unique.
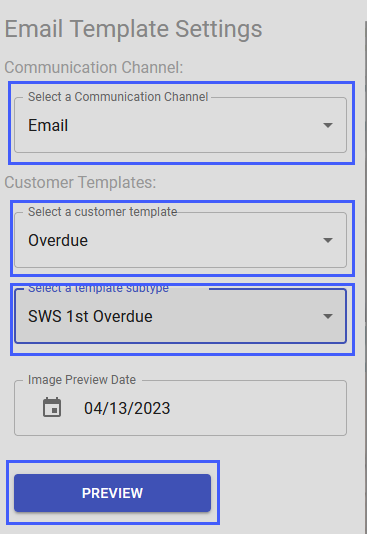
To view a template, locate the Template area on the left side of the screen and enter Communication Channel details.
- Select the Communication Channel (Email, SMS )
- Select the template/notice types
- Select the notice subtype
- Click on the PREVIEW button
Once you have your preview you can modify the template by selecting the Modify Editable Fields button.
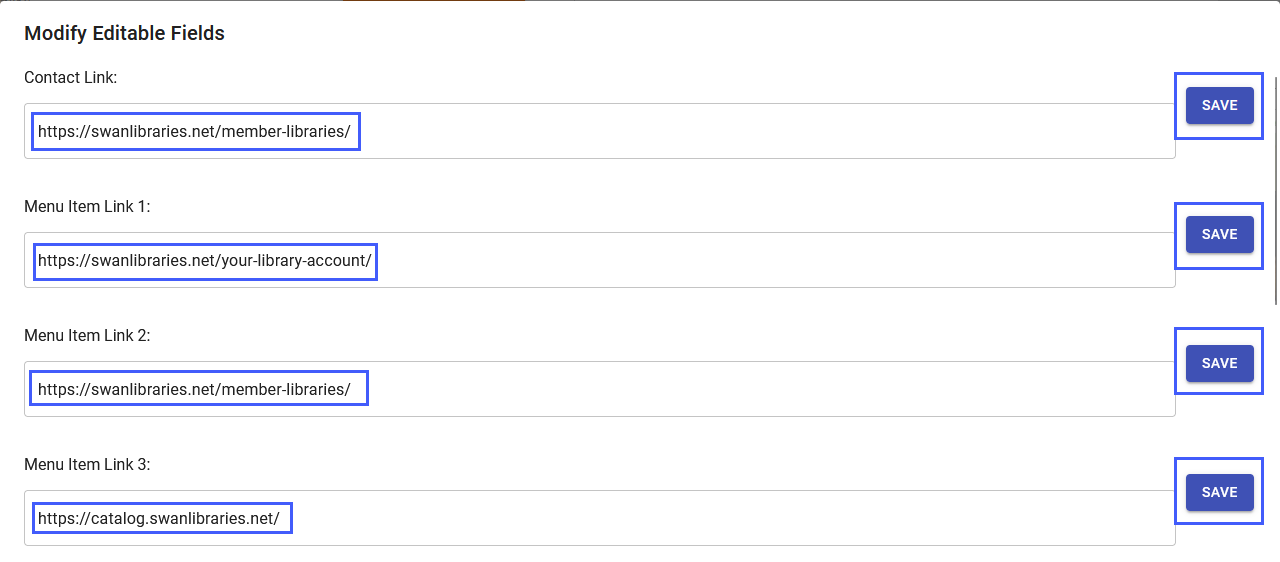
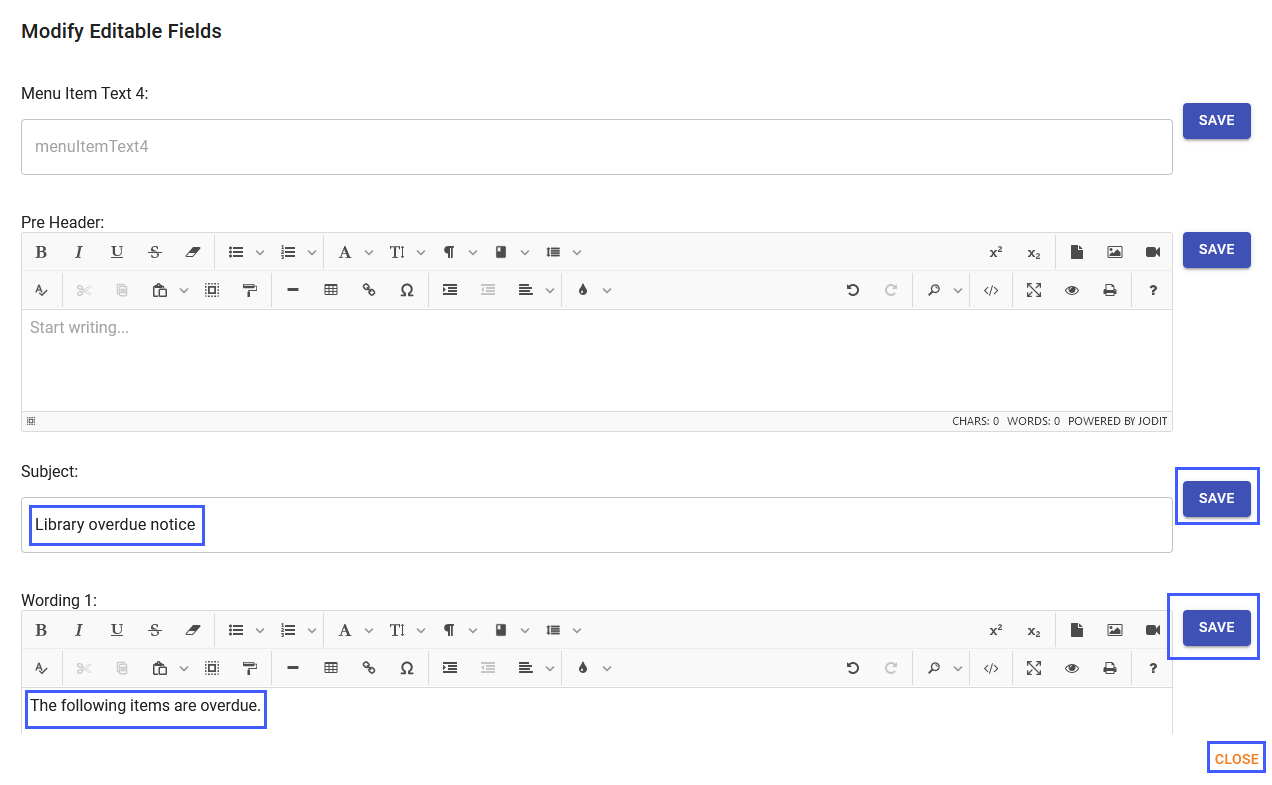
You can update the menu, the notice text, the Get in Touch link, the subject line, and the body text.
- Contact Link
- Menu Item Link
- Menu Item Text
- Pre-Header (used by some email clients)
- Subject
- Wording (notice text)
Menu links update the wording and URLs. There are currently four available links, if the link is left blank it will not display.
After every change remember to Click SAVE. When you have made all your changes click the Close button.
Banner images
To upload a new image or edit an existing image you will want to select the Media Library Button.
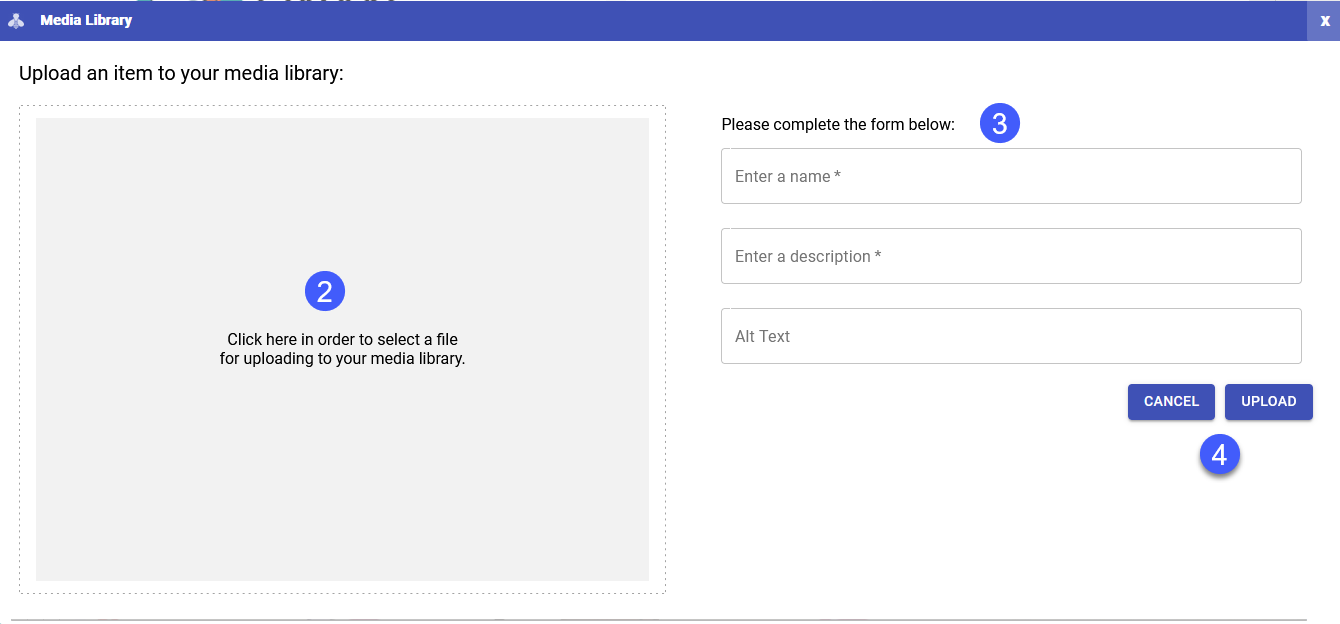
- To add a new image click the plus (+) sign in the lower right-hand corner

- Click in the large square to select and upload your image - recommended image size is 500 pixels, 72/96 dpi
- Enter the information, name, description, and Alt text
-
Click upload to upload to add an image or Cancel to return to the image gallery.
After your image is uploaded it will appear in your Media Library. Hover over an image to archive or edit the text you filled in. Active images select just the images you have assigned to a report template.
Assign and schedule images in upper and lower banners
- To assign a new or existing image to your upper or lower banner, you will want to click the Image Selection button on the right-hand corner of the screen.
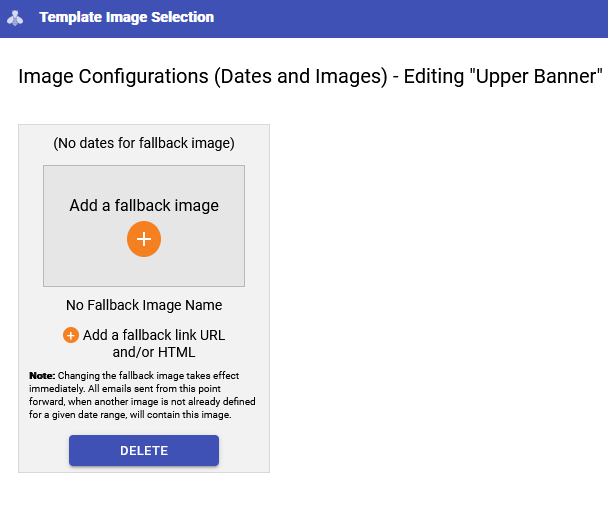
- Select the desired banner, Upper or Lower
- Click on the Orange plus (+) sign to select your image
Scheduling banners
To schedule the display of a banner, click the orange plus (+) sign in the bottom right-hand corner on the Template Image Selection screen
Select your dates using the Start and End Date calendars and enter a URL for the image.
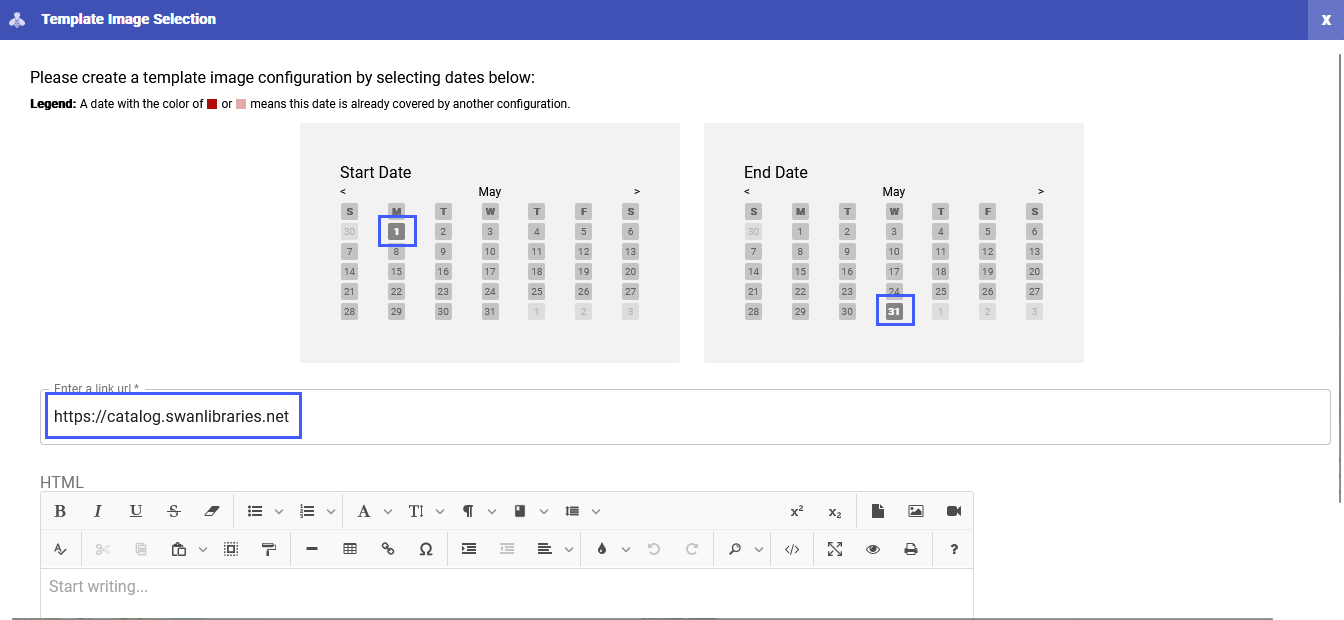
Then select the image you want to add. Click the orange plus (+) sign in the new window that appears for the date range you selected.

Select the image from your Image Gallery or click on the orange plus sign in the lower right-hand corner to upload a new image.
If you would like to delete a schedule, press the blue DELETE button found under the scheduled banner.
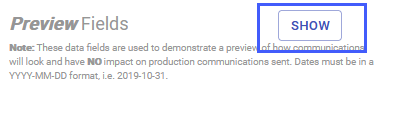
Preview fields
Preview Fields will give you a sneak peek of what changes will look like in your Email notices. You have the option of previewing what a notice will look like by manually filling in certain information related to that notice template such as the logo, background color, title, ISBN (which will pull the cover image into the notice), patron’s name, etc. This allows you to see what a notice would be like when it’s sent to a patron, but without making any permanent changes to the template.
To see what’s available click on the SHOW button in the upper right-hand corner this button will change to HIDE once selected. The templates will auto-populate with the information you enter.
If you would like to change your colors, logo, and footer text you will need to open a ticket with Unique. To open a ticket, click on the question mark icon in the upper right-hand corner, and fill out the required information, remember to press Submit.